Today, we teach you how to correctly slice a shoulder, because you should know that the morphological characteristics of shoulders and hams are different, and the task may be even more complicated. It is not impossible yet, with a few brief indications you will already have the basics to start with.
In case you don’t know, the shoulder is the name given to the front leg of the pig while we call ham to the hind legs. If we compare ourselves, an arm and a leg, we can see that the placement of our bones will be different. When we talk about ham and shoulder, the comparison is the same, therefore, the way in which we will begin to make the cut will also be different.
Our recommendation is that you start making the cut in the area of the babilla, that is, placing the shoulder with the hoof facing down. You should also have a lace (which you will use to clean the excess fat and the crusts), and of course, with a ham knife.
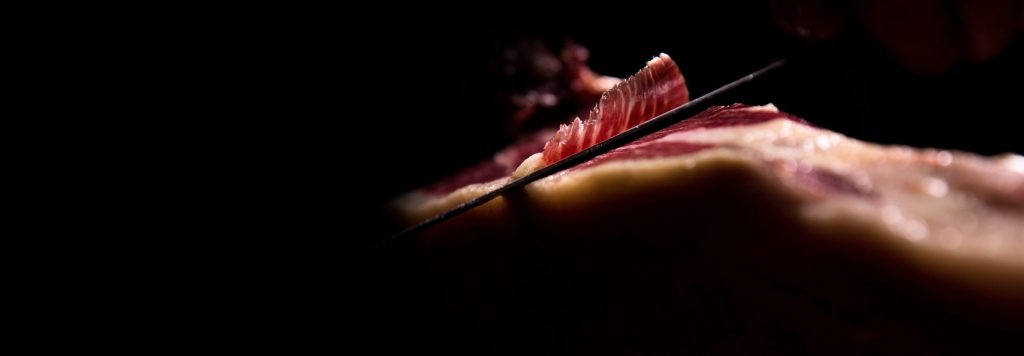
When you have all the materials, don’t wait any longer! Make a mark on the bone and start cutting the first slices (which will be bacon), until you get to the lean part. From there, it begins to cut slices of a length of 5cm or so, and always in the direction from the hoof to the outside.
Be very careful when using the ham knife, so that you can make a perfect cut, it must be very sharp, and therefore can be a danger to you.
When you have a high number of slices, place them in a plate. You can do it as you like, the possibilities are endless. Our suggestion is the traditional one, with the flat slices on the plate forming a circular shape, from the outside of the plate to the inside.
As a recommendation, we advise you to keep the largest pieces of fat and rind removed in the beginning, because they will help you in the conservation of the area you have started.
When you have finished slicing it, you can turn your shoulder to continue with the part of the maza and the jarrete. Congratulations!! This means that you have already enjoyed half of your shoulder, and for sure, you have loved it.
Sounds easy, doesn’t it? It only remains to get down to work.
We hope we have helped you to know how to cut a shoulder.
See you in the next post!
 Español
 Català
  English
 Français
 Deutsch
 Italiano
 Dutch
Dutch